
How to get started with GetCalendario in ten minutes
Updated 10 October 2026
You can have two calendars syncing in a few minutes. Sign up, add your calendar accounts, create one connection, and let Test Flight show you what the result will look like before anything else is copied.
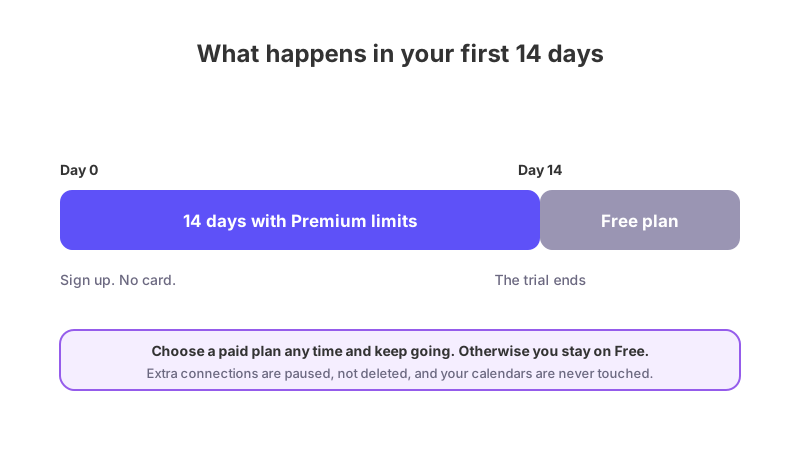
Every new account gets 14 days with Premium limits and no card. After the 14 days your account moves to the Free plan, which has 2 accounts, 1 connection, 1 sync rule, and syncs events 7 days back and 30 days ahead. Extra connections are paused, not deleted, until you upgrade. You can upgrade at any time. See the 14-day trial and the Free plan.
Step 1: Sign up
Create your account. You will not be asked for a card. The trial starts when you sign up.
Step 2: Connect your calendar accounts
On the Home page you will see a short setup list. The first step is Your calendar accounts. One is enough to start. Add a second if the two calendars you want to sync are not in the same account.
Click Connect a calendar. A box titled Add a calendar account offers Google and Microsoft. Pick one and sign in with that account, then give GetCalendario permission to read and write your calendar. Microsoft covers Microsoft 365, Outlook.com and Exchange Online. Repeat for the second account if you need one.
More detail: how to connect a Google calendar and how to connect a Microsoft calendar.
Step 3: Create your first connection
The second step is Create your first connection. Click Create a connection. A connection is a one-way copy from one calendar to another. It has a short set of steps:
- What do you want to sync? Choose the calendar under Copy events from and the one under Copy them to. Both must be chosen before you can continue.
- What should come across? Keep Everything, except… (recommended) to copy every event, or choose Only what matches… to copy just the events your rules pick. See how to sync only the events that match.
- How much should travel with it? Choose how much of each event is copied.
- How far back and ahead? Choose the window of time to cover, within your plan's limit.
- Fine-tuning. Optional extras.
On the third step you can choose Skip the rest and create it if the defaults suit you. Otherwise finish with Create connection.
Step 4: Check it with Test Flight
Before the connection starts syncing, you land on Test Flight. Click Check. GetCalendario writes two throwaway events to the destination calendar and removes them straight away, to confirm it can write there. Then it offers some of your own real events (two are pre-selected, and you can change that), copies the ones you choose across and tells you where to find them, so you can open the destination calendar and see exactly what arrived.
If it looks right, click Yes, sync the rest. If not, click No, change settings. You can also choose Skip and just sync, but you lose the chance to look first. See what Test Flight does before your first sync.
Step 5: Let the first sync finish
You then see a screen titled Syncing for the first time, with the events as they come across. This only happens once for each connection.
Want it to go both ways?
A connection copies one way. If you want events from each calendar to appear on the other, make a second connection in the opposite direction. See one-way or two-way calendar sync.
Where to go next
- Skip or hide certain events: how to stop certain events from syncing and how to hide event details but keep the time blocked.
- Something not appearing: why is my calendar not syncing.
- Not sure where to look: which part of the docs do I need.